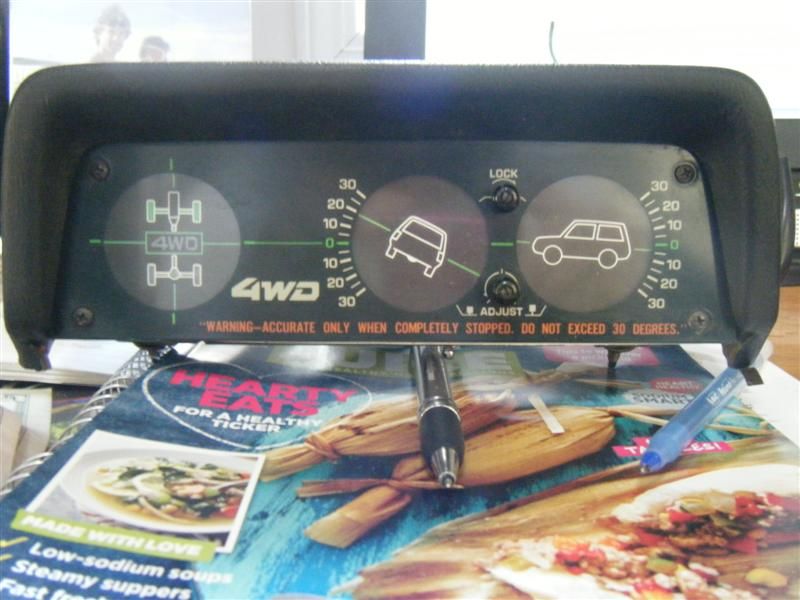
the angles locked in their supposedly neutral positions.

adjusted as close to 0* as i could get them.
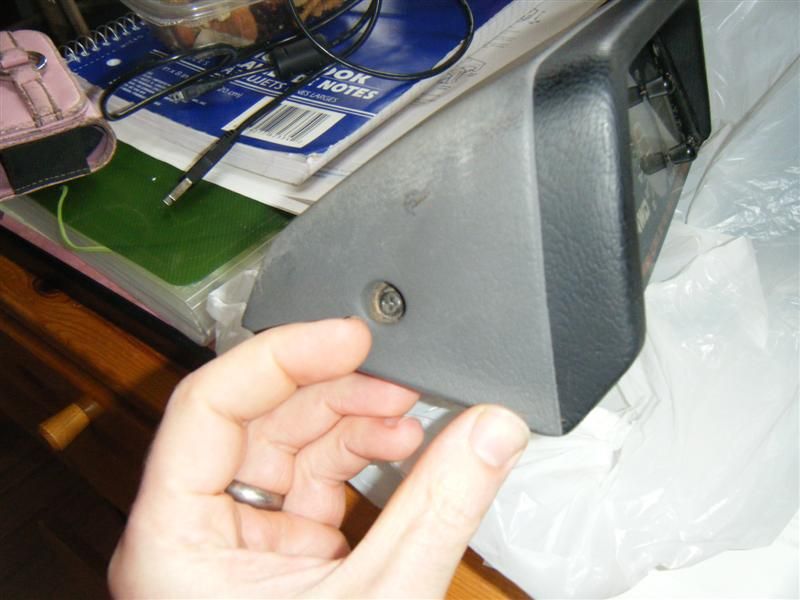
to level those things out, first remove the screws at both ends of the inclinometer.
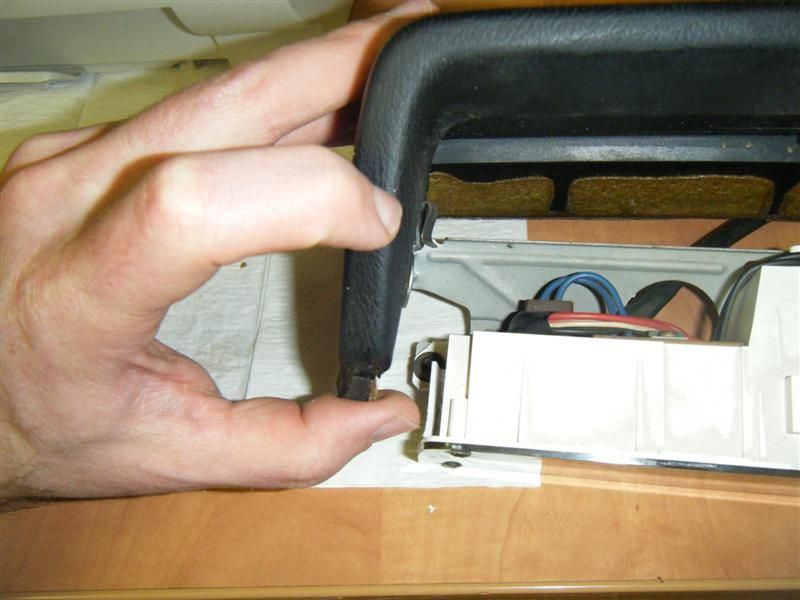
firmly hold the guts of the device in one hand and the cover in the other and give a hard tug. the metal clip my finger is pointing to needs to be freed from the plastic tab that my thumb is pointing to. (note: it's best to do this in a warm place so the plastic is less brittle and less likely to break.)
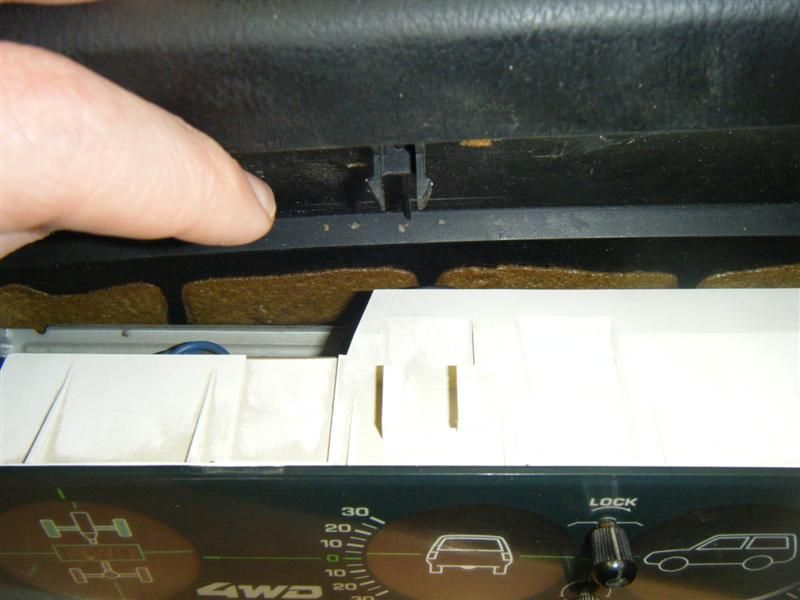
do the same thing on the other end. there is also a clip in the middle, shown here. pull it apart too.
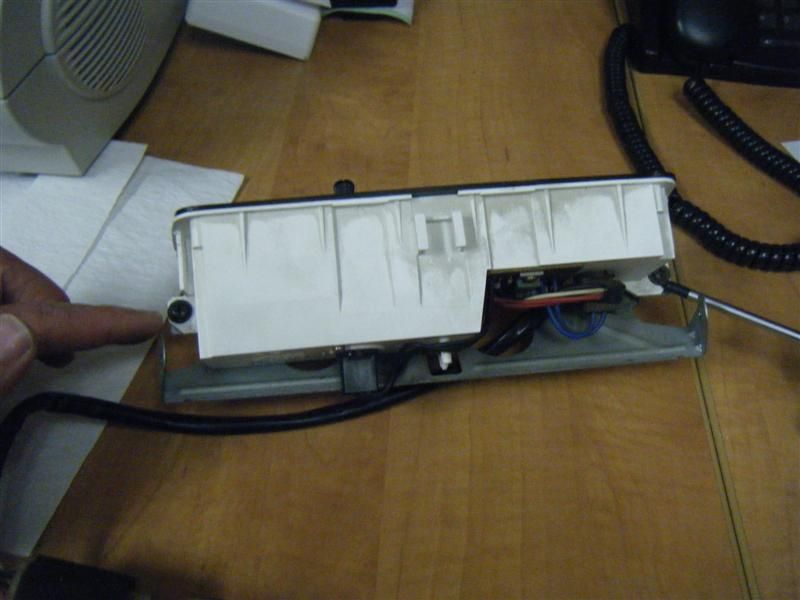
now that the cover is off, remove the screws that fasten the guts to the mounting plate and separate them. i'm pointing to them here with my finger and the screwdriver.
use a very small flat blade screwdriver to remove the tiny screws securing the lock and adjust knobs. these are extremely small, special screws, so don't lose them! hold each knob with one hand while you undo the screw with the other. firmly pull the knobs off.
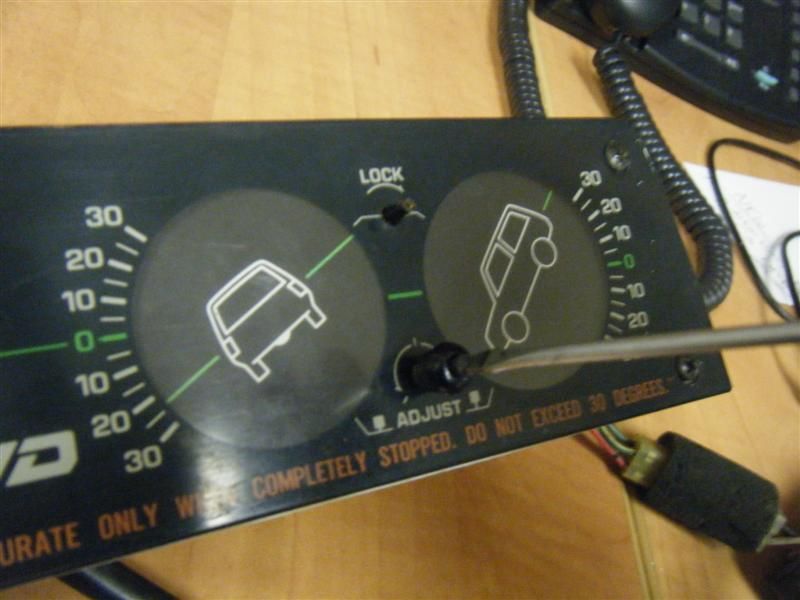
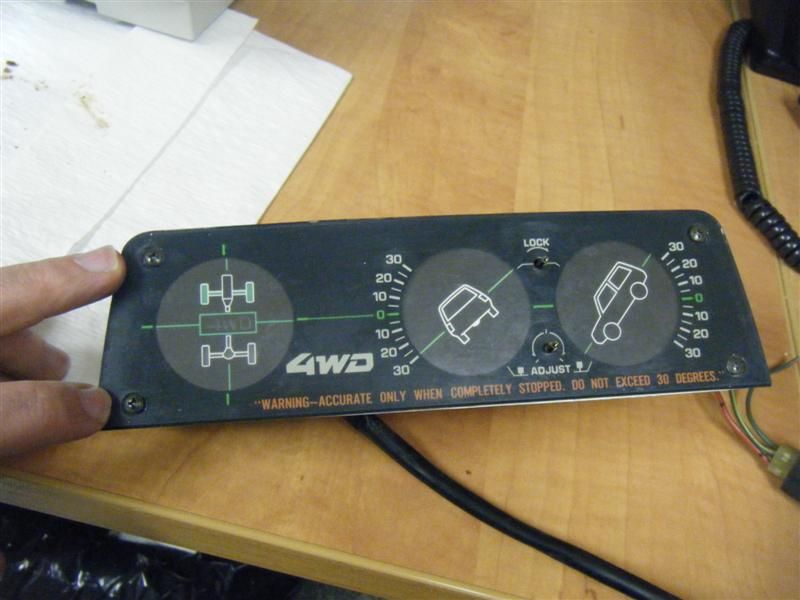
remove the four face plate screws and pull the face plate off.
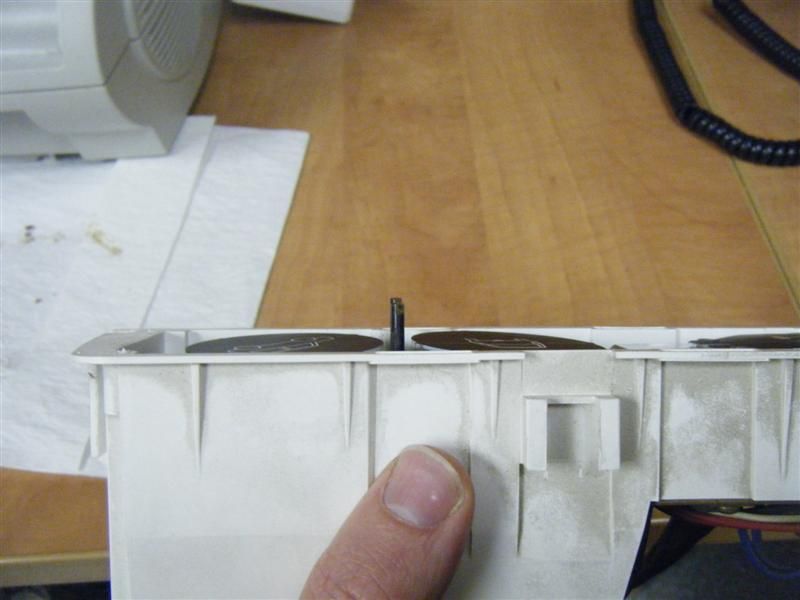
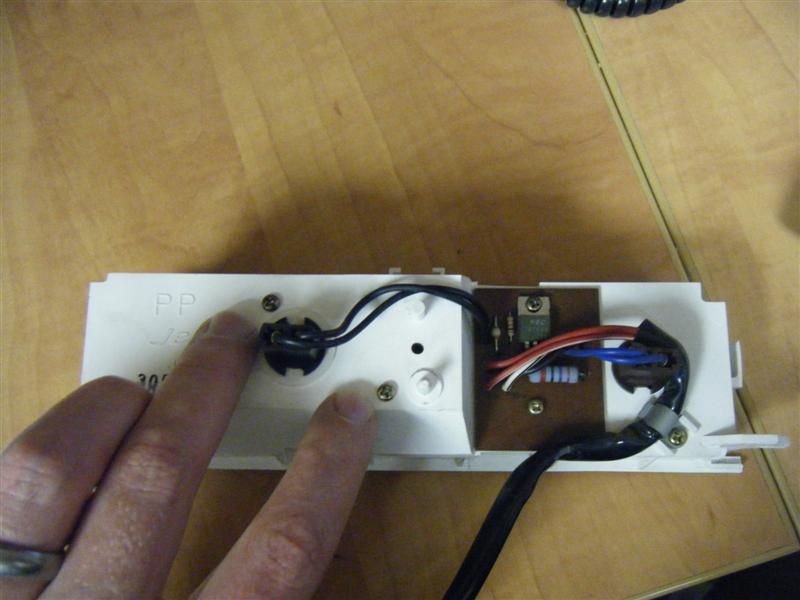
remove these two small screws from the back side of the inclinometer guts.
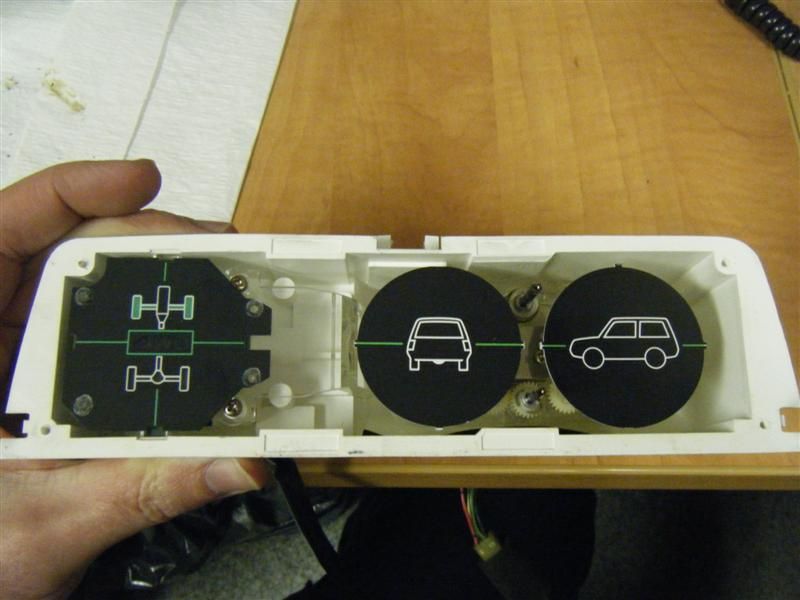
now the angle-measuring unit will just fall out.
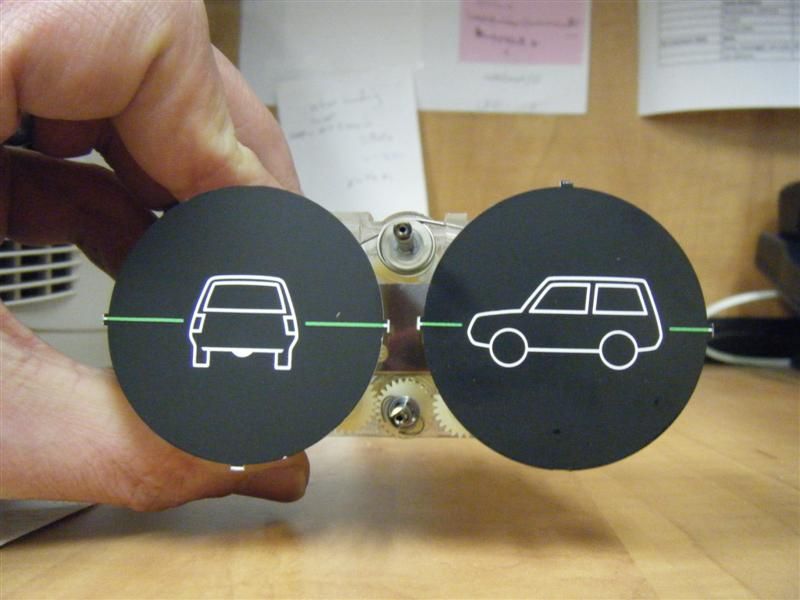
twist the 'lock' shaft to get the graphic wheels in their neutral positions. then, for the front/back angle, hold the weighted gear on the side of the unit still with one hand and simply twist the front/back graphic wheel until it looks flat, like so.
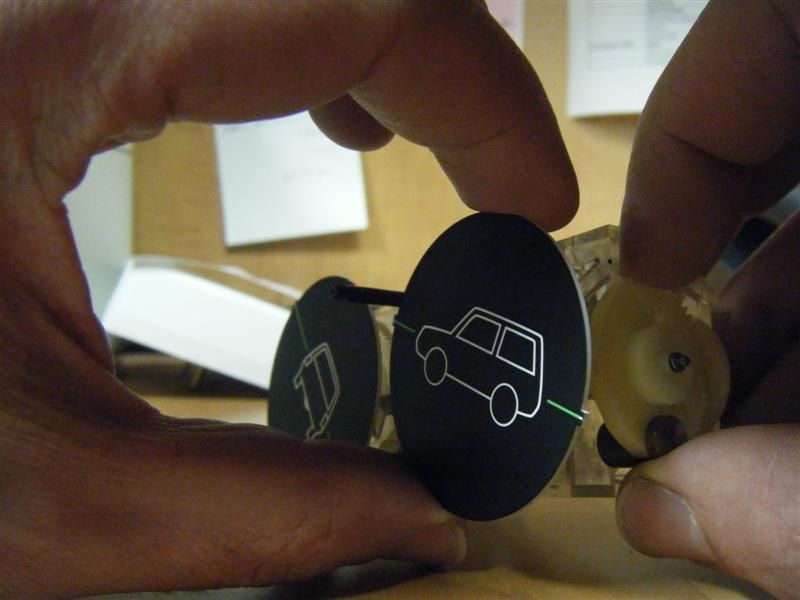
for the side/side angle, hold the weight on the back of the unit still with one hand and twist the side/side graphic wheel. here is the side/side weight.
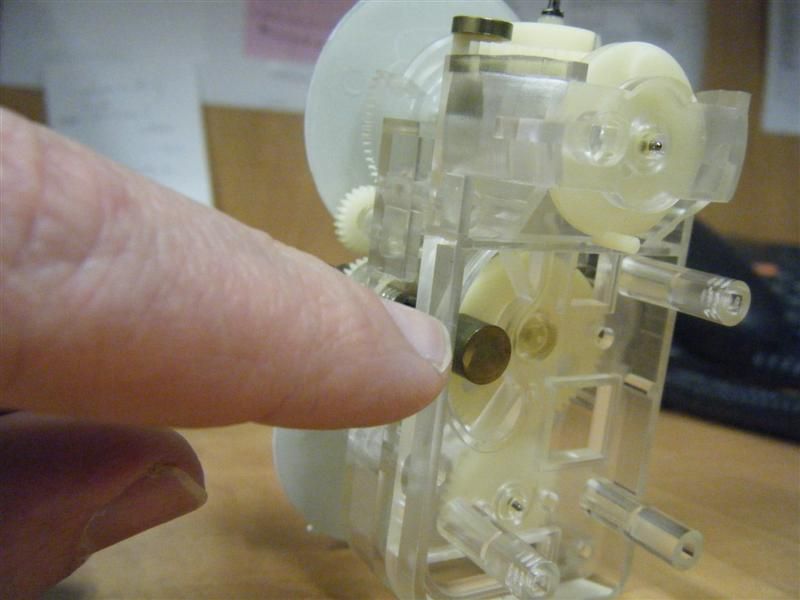
once the both graphic wheels are flat, reassemble in the same order. the only thing to note is to make sure the the graphic wheels are sitting perpendicular to their shafts. when i first put this back together, the side/side wheel wouldn't move but it was only because the wheel was off at a slight angle and getting stuck against the face plate. i just had to push down on one side of the wheel lightly to get it to sit with the necessary clearance from the face plate. in this picture, you can see how slightly angled the wheel was so try to keep them quite flat.