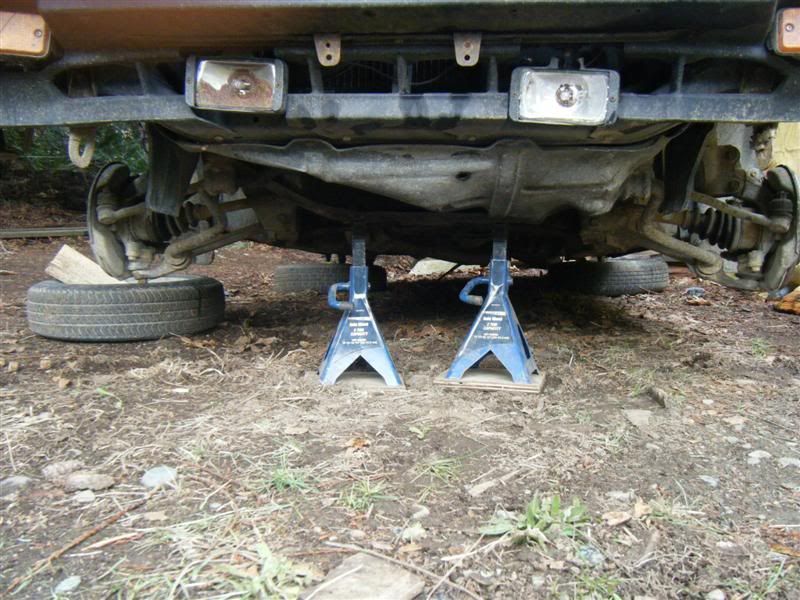
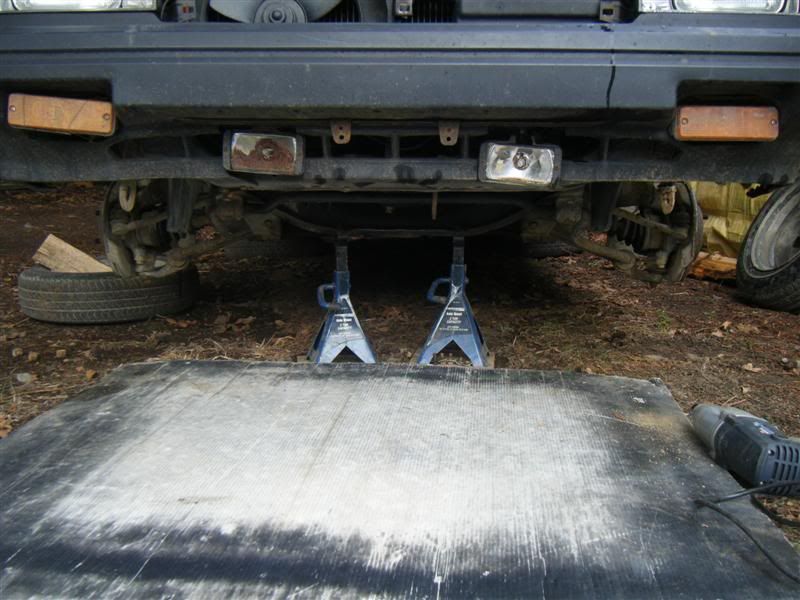
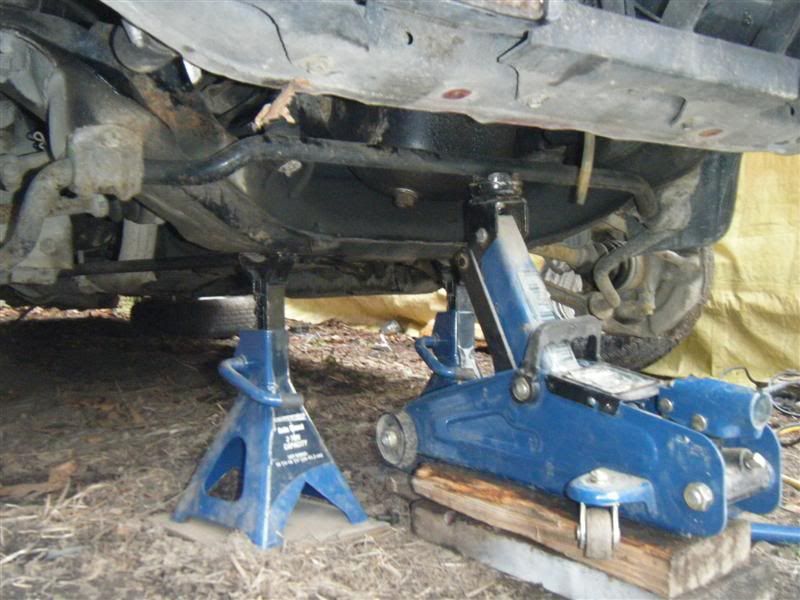
first, jack the front up and put some jack stands under it. i like to put two under the x-member.
remove the six 12 mm bolts holding the plastic splash guard in place and remove it.
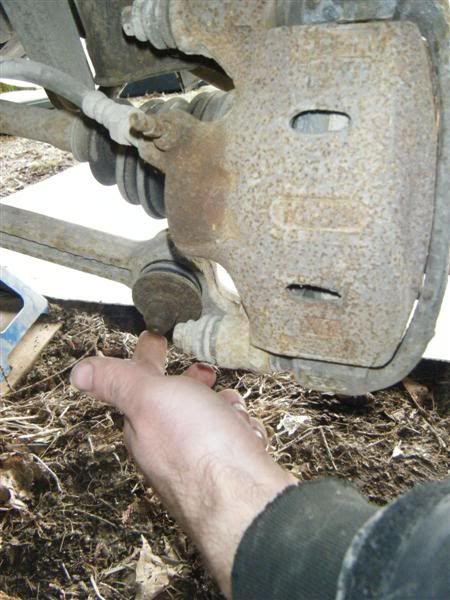
take the wheels off for better access and back off the 19 mm nuts from the ends of the sway bar. they will likely be hella rusted. an air or electric impact gun is your friend here, or at least a breaker bar with a long metal tube over the handle as an extension for greater torque. back them off just till they are flush with the ends of the bar. leave them there because you'll need to whack the ends of the bar with a hammer soon and you don't want to mess up the threads.
now put the jack under the front center part of the sway bar and go up just until the jack touches the sway bar. you don't want to lift it, you just want to support it so it's not pushing down when you perform the next step.
undo the four 14 mm bolts that hold the sway bar to the x-member.
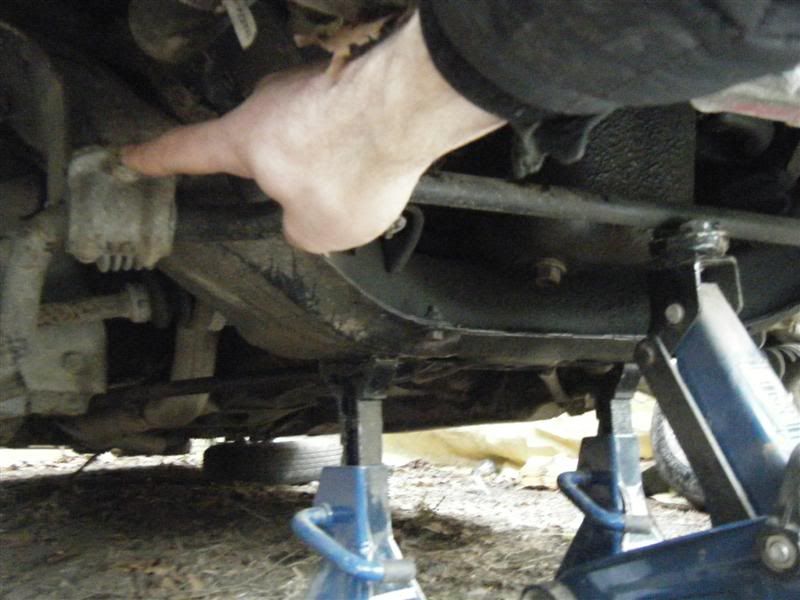
lower the jack and the sway bar until the jack is just barely supporting the bar.
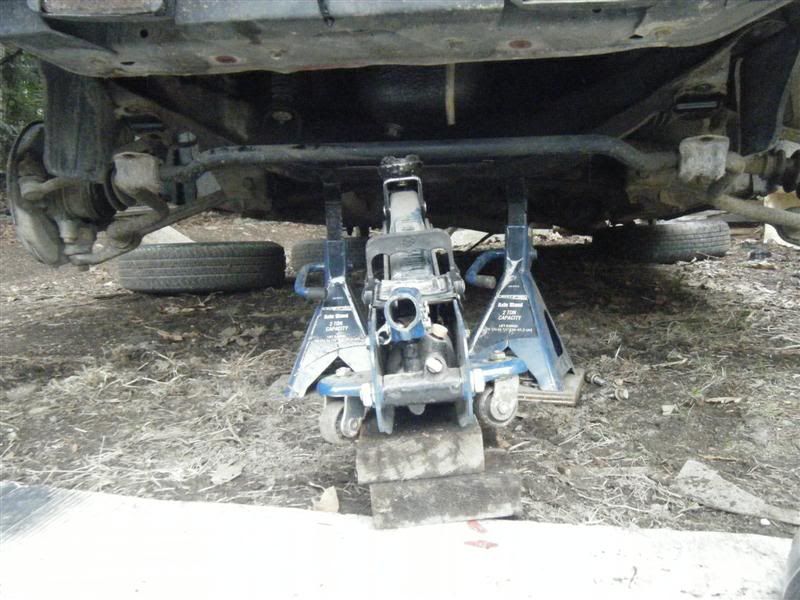
I do this part differently now than I used to. I used to pry the rear bushings out at this point but that's more effort. Now, I put a ratchet strap on the bar like this with just a touch of tension on it to keep the ends of the bar from trying to spread as I remove it from the control arms.
Now take a big hammer and whack the end of the sway bar to break it free from the rear bushing. Once it's free, remove the 19 mm nut and pop the sway bar end out of the control arm. Do the same on the other side. Once the sway bar is out, you can remove the rear sway bar end bushings from the control arms with a punch and hammer from the front side of the control arm. They can be pretty stuck in there due to corrosion so you might need to pry at it, chip away, etc but it'll pop out eventually. Sorry, no pics of this step.
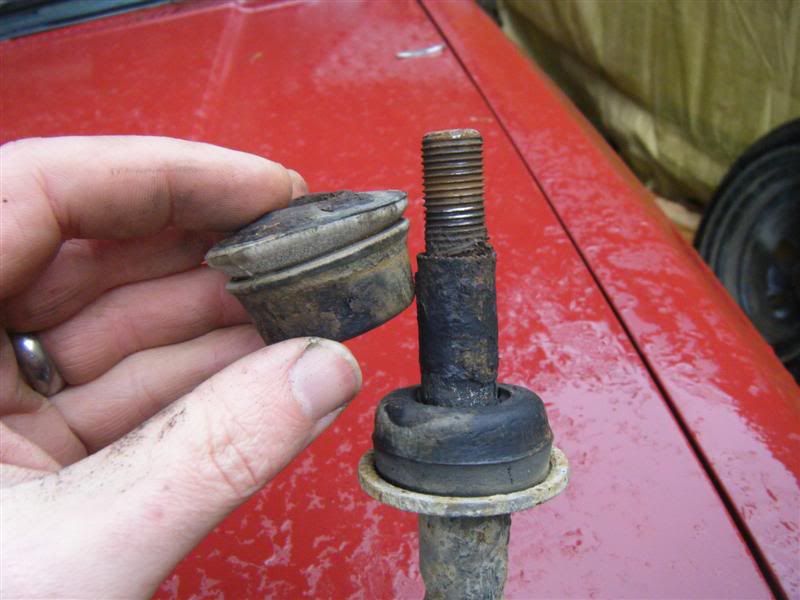
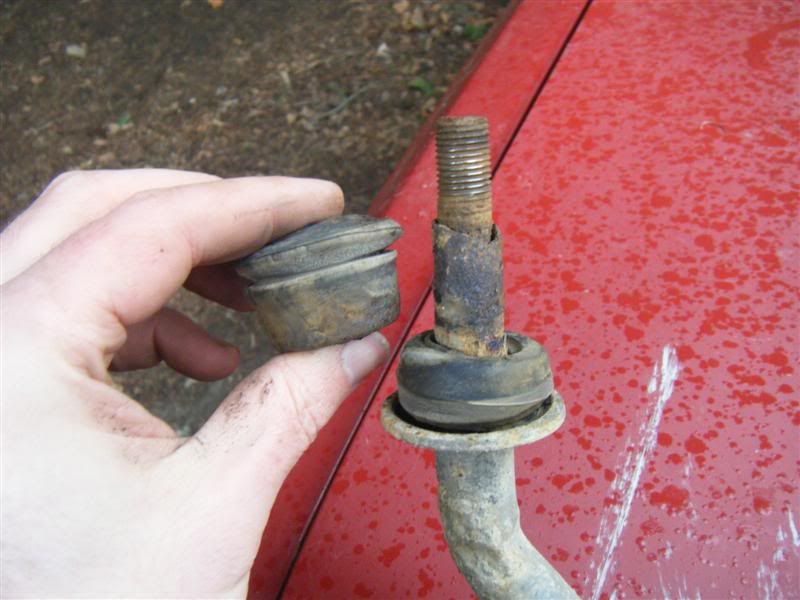
Now that the bar is out, pry off the front bushing and remove the metal tube (or what's left of it) from the end of the sway bar. depending on how badly corroded the tube is you might have to get creative to remove it--a hammer and chisel usually work well but i've had to carefully use a grinder to remove the remains of one. OTOH, if the tube is completely reduced to dust already, just give the sway bar end a good brush off with a wire brush. here are the bushings and bar ends from the parts car. looks pretty good, right?
but wait, the tube on this one doesn't look so hot...
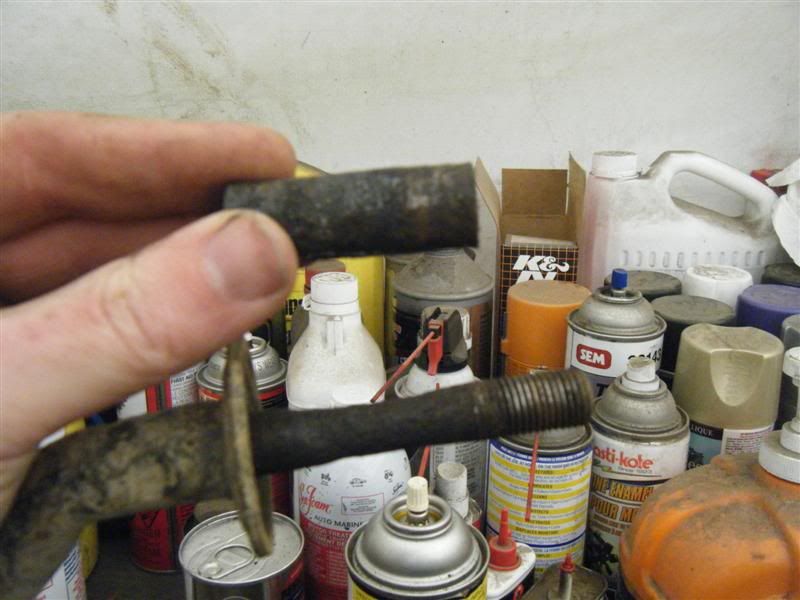
oh jeez! when i got the tube that looked good off, i could see that the bar itself is bottle-necked quite badly! this is dangerous because it is under so much pressure when turning while driving and can snap, sending the car careening out of control. bad stuff.
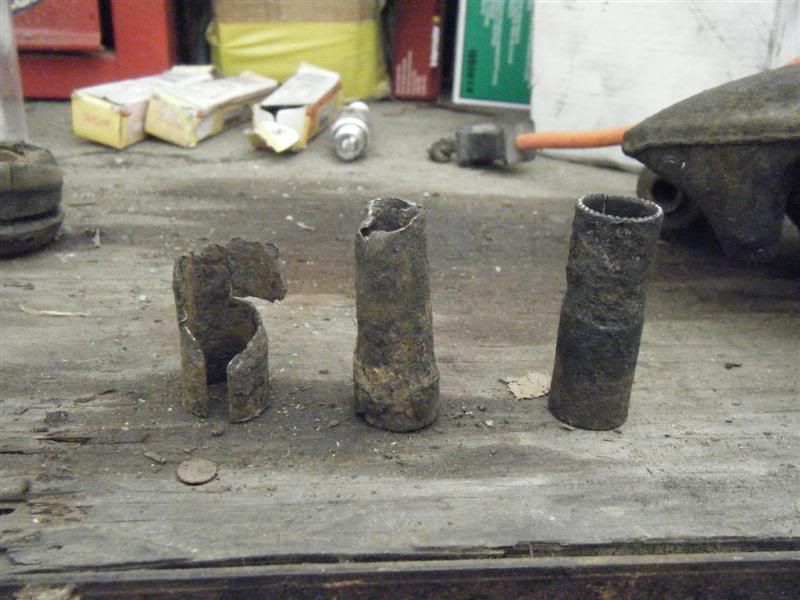
here are four of the sway bar end tubes i removed this last week. the two on the right are the ones that just came off the parts car and the other two (i'm including the non-existent one that was rusted and crushed to dust) are off of my current project car. if you're not sure that yours are in better shape, you should take a look sooner than later.
to put the sway bar back in, simply reverse all these steps. make sure the sway bar is right side up when you install it or you will have a hell of a time trying to figure out why it just won't fit. i know i did the first time. use anti-seize where applicable but don't get it on the bushings because it will eat them. be very careful about threading the bolts that attach the sway bar to the x-member--if the angle isn't right you will strip the threads in the holes and that will create a massive headache. just take your time and be patient about it. last tip, use a ratcheting cargo strap to squeeze the bar ends a bit (just an inch or two) when you slide the ends into the control arms. this is much easier than trying to compress it by hand. make sure the jack stands will not be in the way of the cargo strap though!
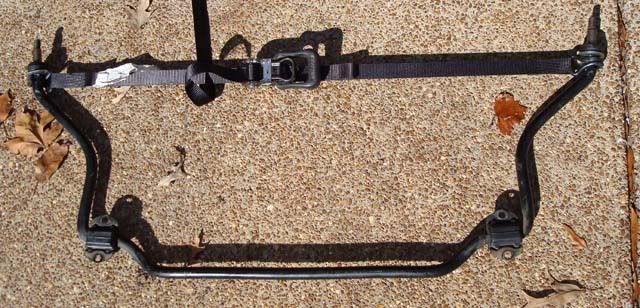
i stole this picture of keith's to explain what i mean about the cargo strap.