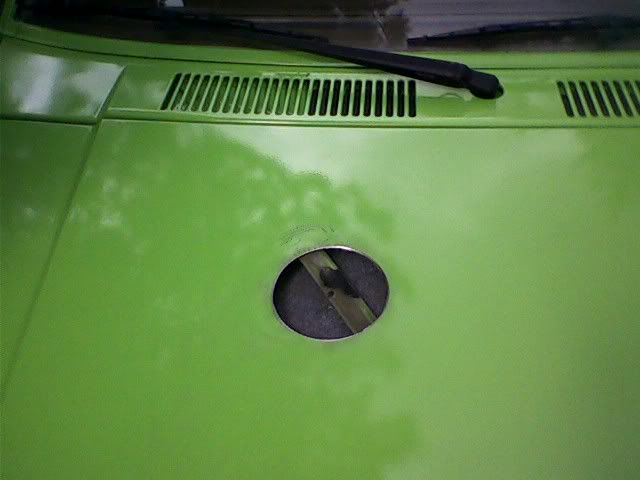
first, we (daddy and i) measured from the edges of the engine bay to the edges of the weber air filter housing. using these measurements, we marked the hood accordingly and cut a 4" hole just behind the filter housing. this is where the air would actually enter, from behind the scoop. never mind the scuff marks, the pilot drill bit snapped and reeked havoc. i was not a happy camper but luckily it would be covered by the actual scoop.
next, we drew lines from the edges of the hole to a 1/2" in front of the front-most filter housing edges...

and cut on those lines using a grinder with a cutting blade. this got us this:
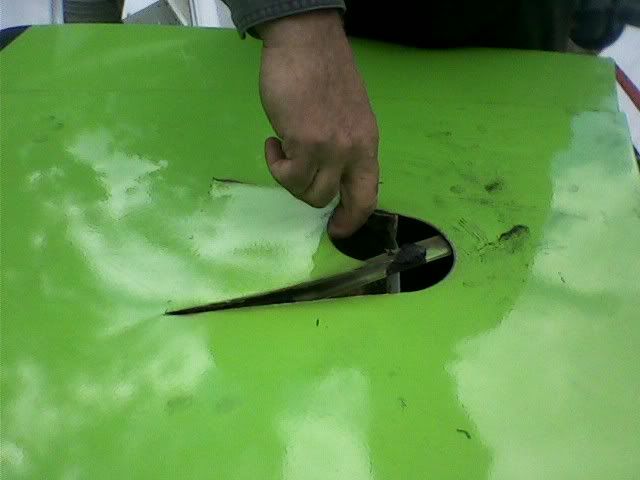
at this point we cut out the hood brace seen in the hole just so the air would have a clear path down into the engine bay. we made two more 3/4" cuts where the lines met the edge of the circle, from the circle to each side of the hood. this way we had three parts to manipulate: the front main portion and two sides. we bent them using a piece of lumber with a towel wrapped around it to keep the bends straight and it wound up looking like this:
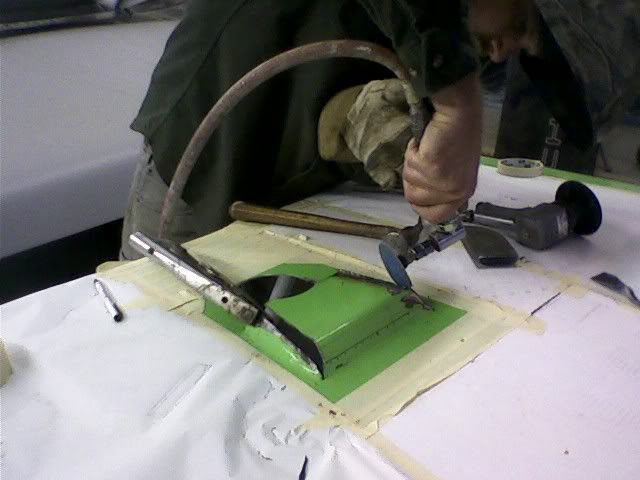
the next step was to weld two small pieces of metal in to the gaps between the main and side portions. my pal adam helped me with this because me pappy didn't have the proper welding equipment. adam got me to do the second half of the welding and i was psyched. i've never tried welding before and it was surprisingly easy. my welds were ugly of course but with practice i could be decent. anyway, we welded those additional side pieces in and then had a lot of grinding, sanding, and painting to do. there were small burns all over the hood from the welding sparks even though we taped down cardboard to protect it so i said 'screw it' and pulled my typical 'flat black everything' move. here was the end result:
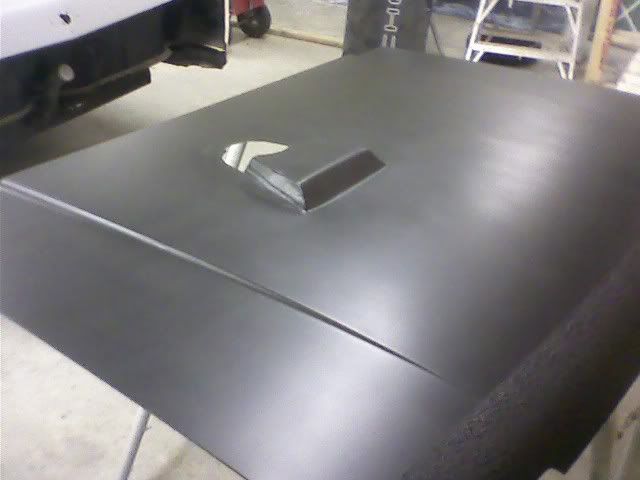
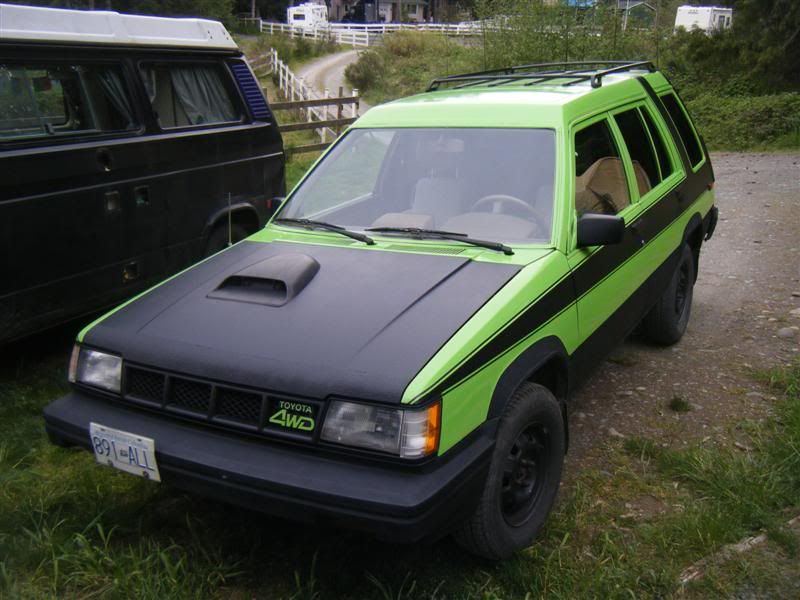
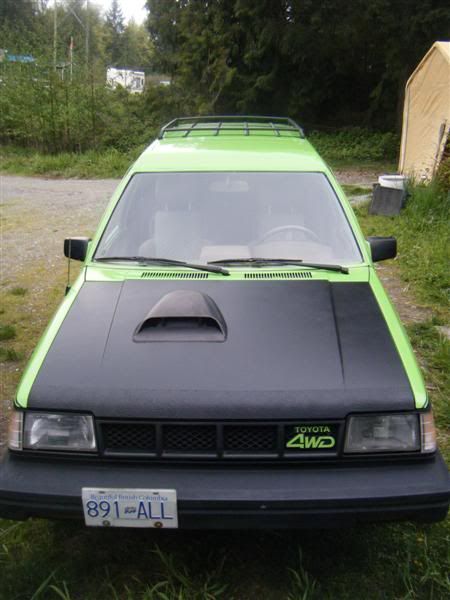
the idea is that rain water will run over and around the bulge and enter the engine bay at the rear end of the intake hole while the air, being lighter, enters the entire hole. the start of the bulge is right behind the grill of the scoop and the hole is at the back of it. it's worked very well so far in the last few days of torrential weather.
i bought a generic plastic scoop off of ebay for $25, re-glued the grill on to it, pulled off the double sided tape, and used a plastic cement/sealant similar to what i believe terkill used to fasten the scoop down. the bummer here was that i left the scoop on the hood with some weight on it while the glue cured but the hood was on a slight angle and the scoop shifted--not much, not even an 1/8", but enough so that you can see a tiny bit of glue at two points around the edge of the scoop. so make sure your hood is level while you leave the hood to set!
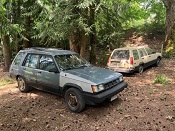
i also got the roof racks on that i picked up from the wrecker last year. i cleaned them up and (surprise) flat-blacked them. installation was easy, just measured it all off and drilled 8 mounting holes. put riv-nuts (threaded rivets) in the holes with some marine sealant around them to prevent leaks, put more sealant on the screws that threaded into the rivets and fastened it down. the only real issue was that i didn't take into account any extra internal frame for the power sunroof and had to drill through part of that as well so that the riv-nuts could be fully inserted. i trimmed the front most screws too so that they were no longer than absolutely necessary. i held my breath every time i tested the sunroof but there was tons of clearance, thank god. here's the final product.
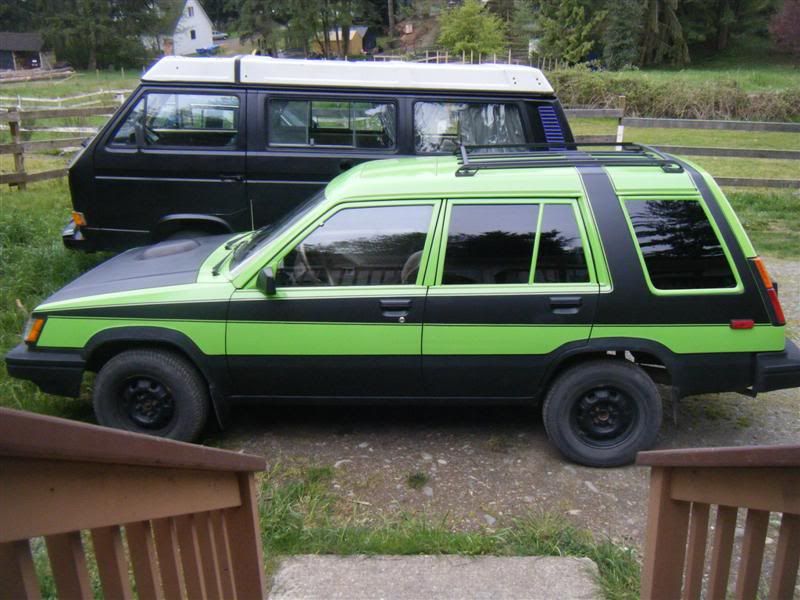
i'm really happy with how both projects turned out, and i actually prefer the black hood. i can't wait to use the roof racks. i saw a toyota matrix carrying two ladders on its roof racks the other day and was thrilled at the notion of being able to do the same.