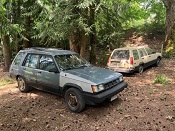
It's been a lovely fall day here in Alaska-land and I've finally gotten a major repair completed! I'm a Journeyman Telephone tech by trade so I've been adapting certain items I use daily to accomplish some of the repairs to my Zombie Tercel. So after accumulating some scrapped out hardware I've cobbled together:
The Cross Arm Bumper! What is that you say? Ever been in a rural area and seen telephone poles with horizontal wood beams bolted to them keeping phone, cable and whatever other lines in the air? Those beams are supporting
thousands of pounds of cables secured to aluminized steel strand with breaking tension ratings of 10,000lbs or more. As unassuming as they are aerial cabling is built to withstand enormous stresses, even this
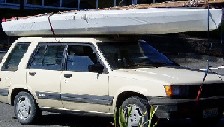
famous Internet pic of a car hanging off them; it's not Photochopped, trust me.


Components:
1 - 6 foot (measured 56" actually but whatever, it fits) pressure-treated wooden cross-arm
2 - galvanized pole stand off brackets (for holding conduit next to a pole after coming out of the ground)
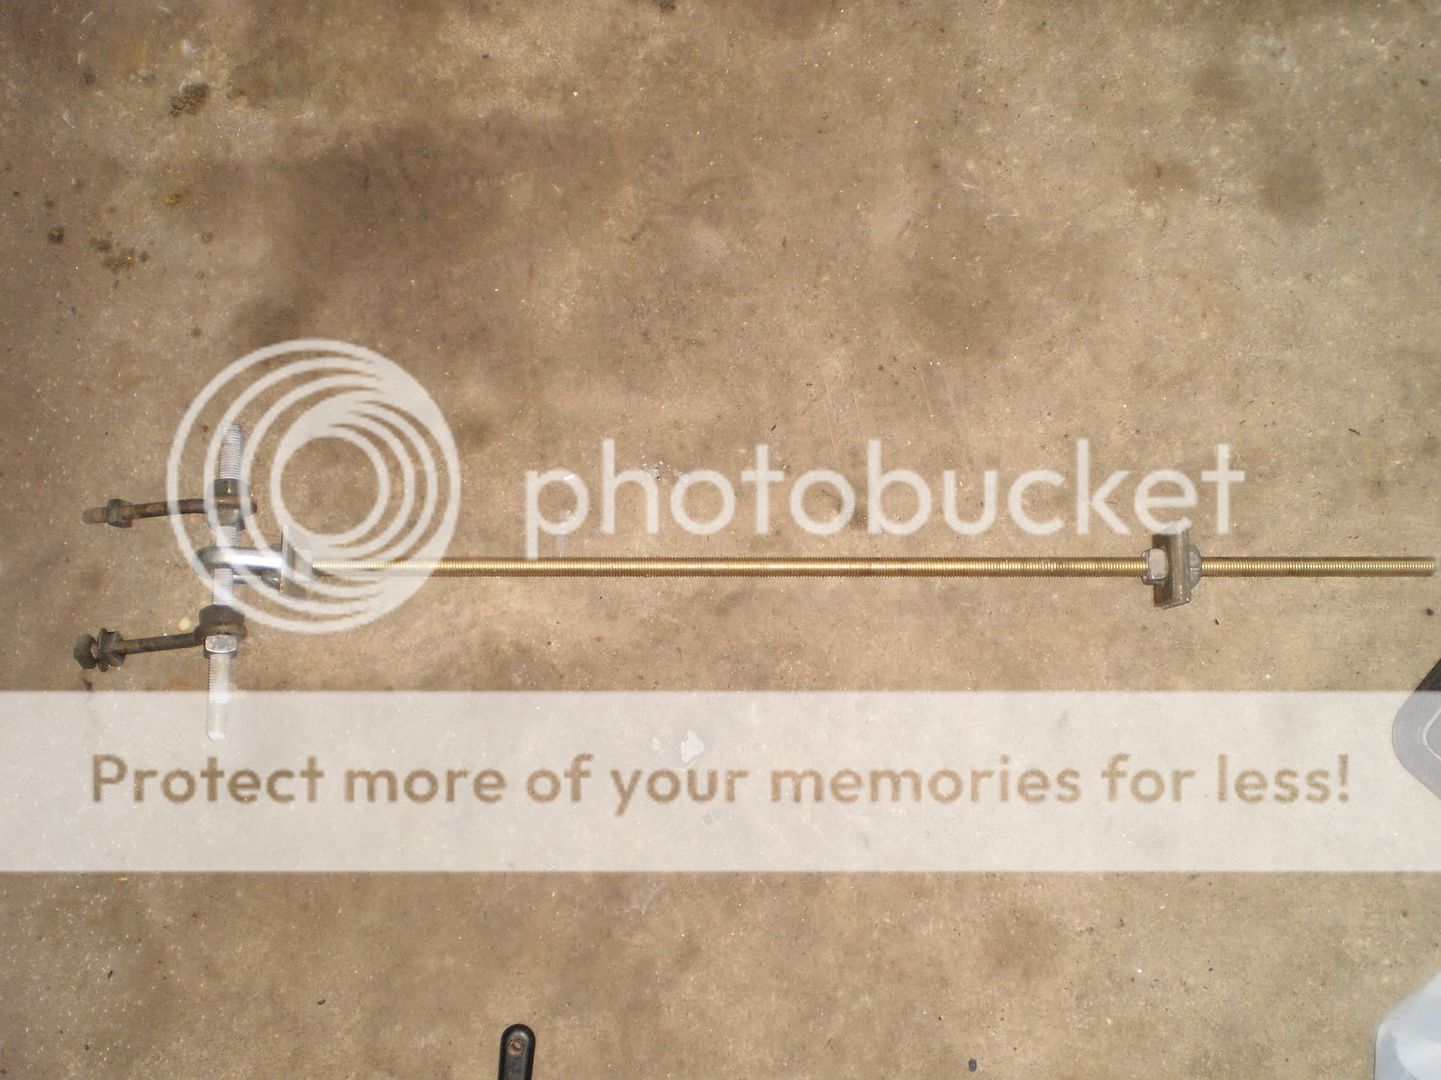
2 - galvanized utility mast bracket front sections (have appropriate cut outs to hold carriage bolts)
4 - 3/8" galvanized carriage bolts, washers and nuts (about 6" long)
4 - 1/2" spring-loaded Unistrut nuts and Grade 8 bolts.


The stand off brackets needed to have their curved flanges beaten flat and trimmed, then I had to take careful measurements and trim them down to allow the spring nut inserts to get to the original bumper bracket holes in the frame rails. I used what was left of the original bracket as a guide and trimmed accordingly for a proper fit. Getting them installed and aligned took awhile but after bolting them in I was left with a perfect platform to mount my weathered cross arm onto. The 30-odd years in the air gave the wood a really interesting grain so rather than planing them down I just scuffed the crud off with a wire brush then smoothed it with some coarse sandpaper and prepared to align it to the car. I was pleased to find out that the latching ring for the rear hatch measured out almost
exactly dead-center so I used it as my measuring point. After holding the arm up with a jack to get the height for hatch clearance right and the arm centered, I marked the bracket's mounting holes and drilled them for the carriage bolts and mast brackets. Since I probably wouldn't be seeing whats left of the rear paneling for awhile a spritz of bedliner seemed in order to keep the cancer at bay. A quick coat of cheap flat black spray paint makes for a handsome bit of handiwork that's easy to care for and blends into the rest of the blue/black/rust theme I've got going on.
I actually put a quite a bit of thought into how I wanted to bolt this up since the original bumper mounts also had towing rings. I remember putting them to considerable (ab)use in my younger years helping friends out of bad places. I knew that the arm would already have holes from the previous hardware that I could put a bolt through, but I wanted something more directly connected to the new brackets for strength. The answer came from a mast clamp that I was grooming to replace a "rusted-into-non-existance" anti-sway bar mount on my axle. After flattening the standoff flange I discovered that the mast clamp's bolt spacing was identical. The 3/8" carriage bolts are what the clamp uses, normally I'd go bigger, but the standoff flange is drilled for 1/2" bolts so I can if I need to. If anything I would rather have something be a weaker link that
will break before I yank the frame out of whack. I noticed after I put the bumper in place the mounting holes and clamps were not exactly the same height, but I'd rather have the bumper itself be straight than to dink around tweaking the brackets that probably weren't made to exact specs anyways. The mast clamps themselves aren't the strongest thing out there since they're used mainly for lighter weight drop cables to houses, but every one I've seen during repairs (to drops that were pulled down by falling trees or careless heavy equipment operators) have been in perfect shape so that's strong enough for me. Now all I need to do is pack a few shackles along with my tow rope and I'll be set to aid winter drivers or get myself pulled out without worry when I get too bold in the cold.
Whaddaya think eh?
MR2Di4

[EDIT: This was today's project, tomorrow the tank gets attention and hopefully will be reinstalled for a trip to the gas station for another full tank to check for leaks. If my repairs hold I'll probably leave the rest of the rust alone and drive it for awhile. If not, I'll drive the tank out, drop it and see what is still leaking and probably do some fiberglass to patch the holes in the tire well and a few other rotten floorpan places I've found elsewhere. I'll post up some more pic of the gas tank repairs tomorrow, wish me luck!]


