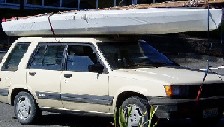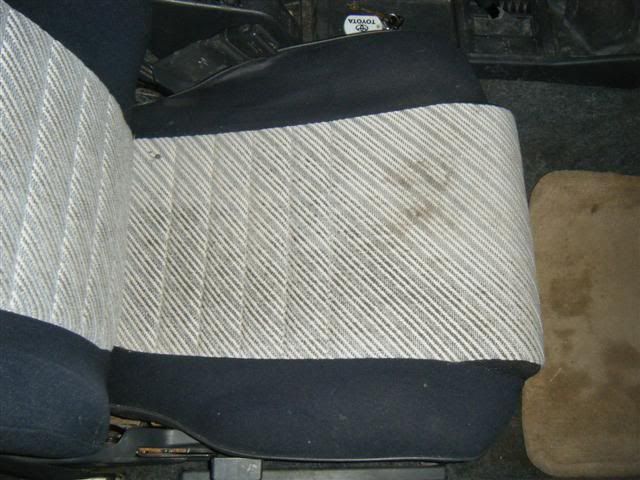
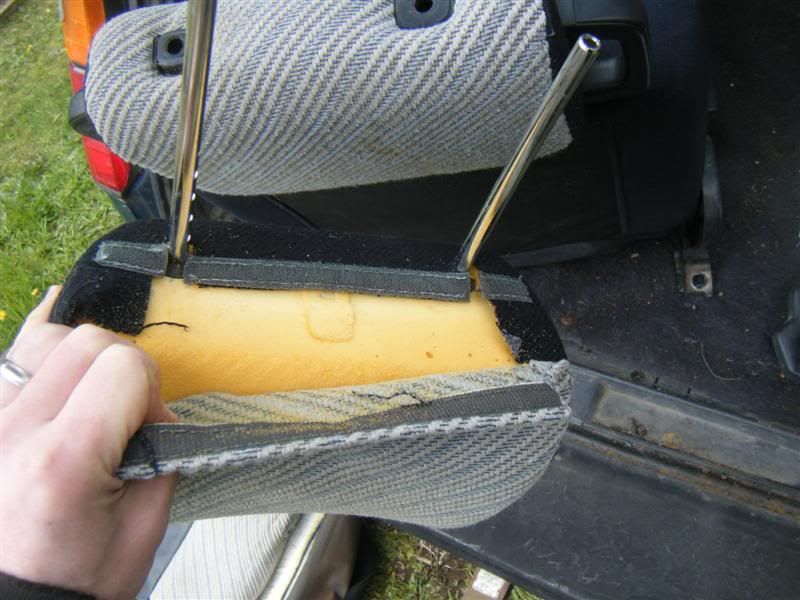
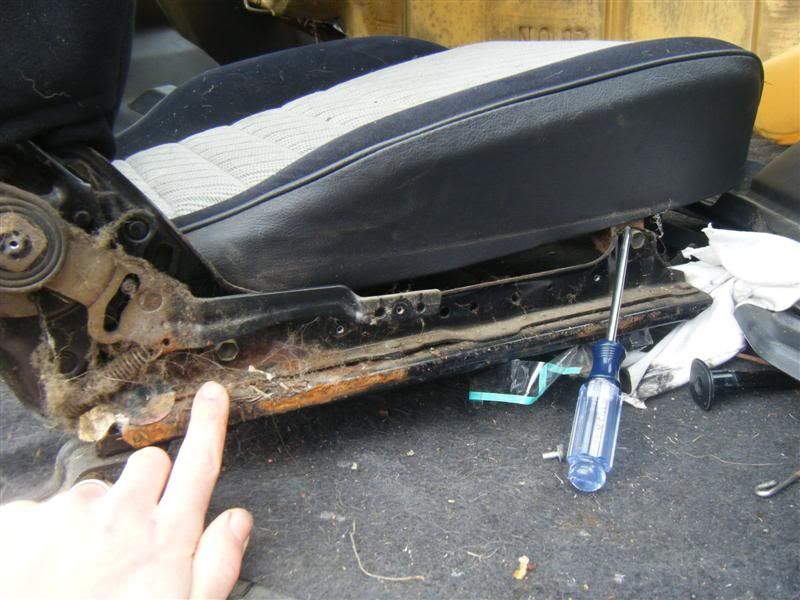
remove the four 14 mm bolts holding each front seat. the bolts at the front are easily seen, the rear ones are beneath plastic covers. pry the covers off with a flat head screwdriver. remove the seat to somewhere you can work comfortably and settle in.
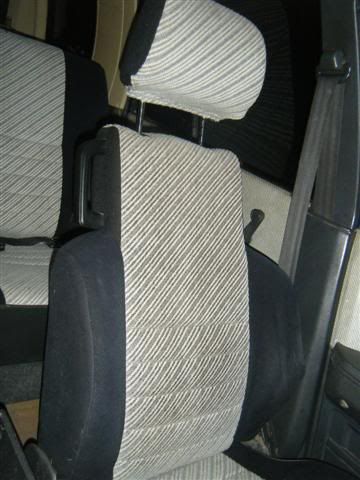
release the lock and pull out the headrest. this is the tough part: undo the velcro and pull off the cover. ok, you made it.
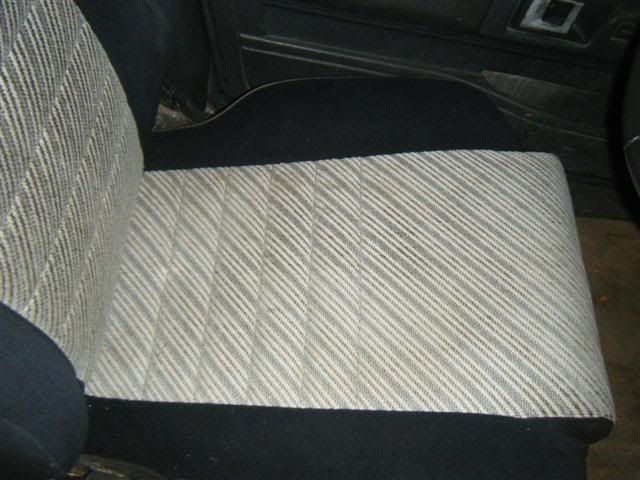
on to the bottom cushion. remove the screws holding the trim in place.
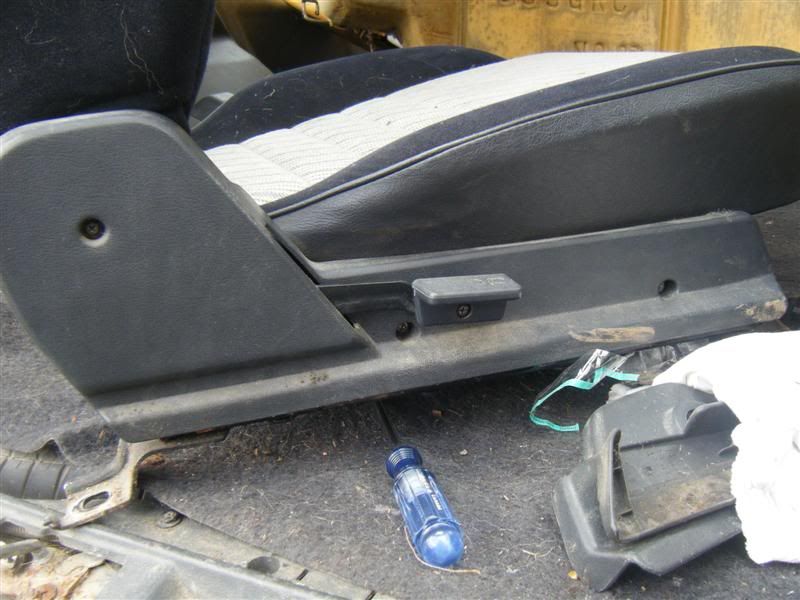
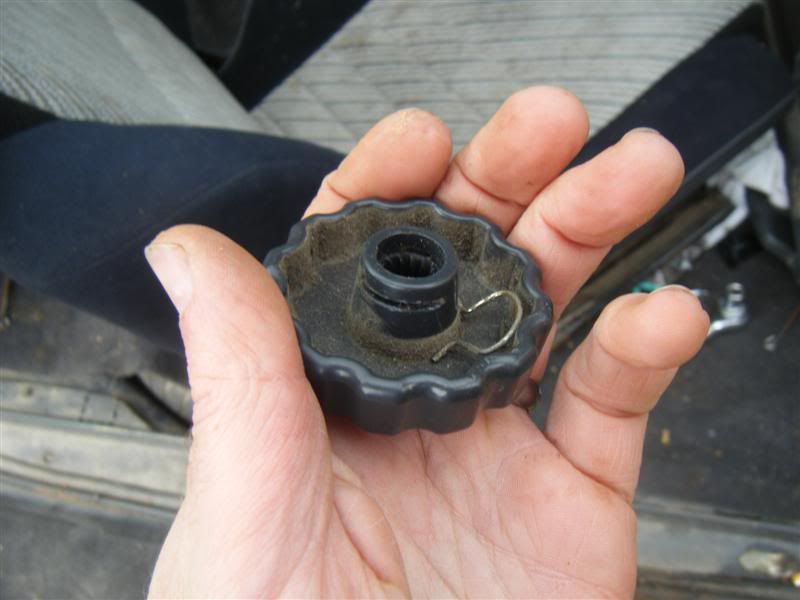
if it's an SR5 driver's seat there is a knob. it's tight but you have to use a screwdriver to push the little metal clip off of it. it's similar to the style of clip window cranks are fastened with but the rag trick doesn't work.
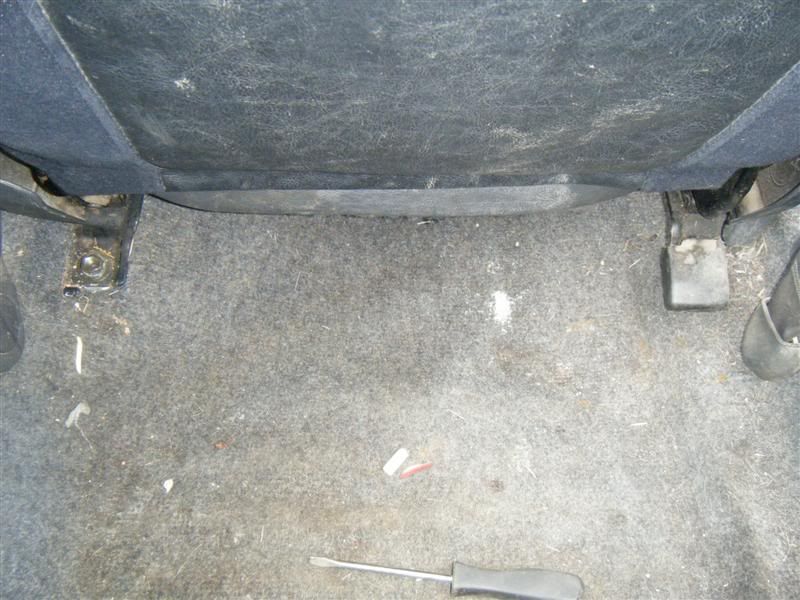
once the trim is removed, remove the two bolts on each side that secure the bottom cushion pan to the seat frame. my fat finger and the screwdriver point to the bolts.
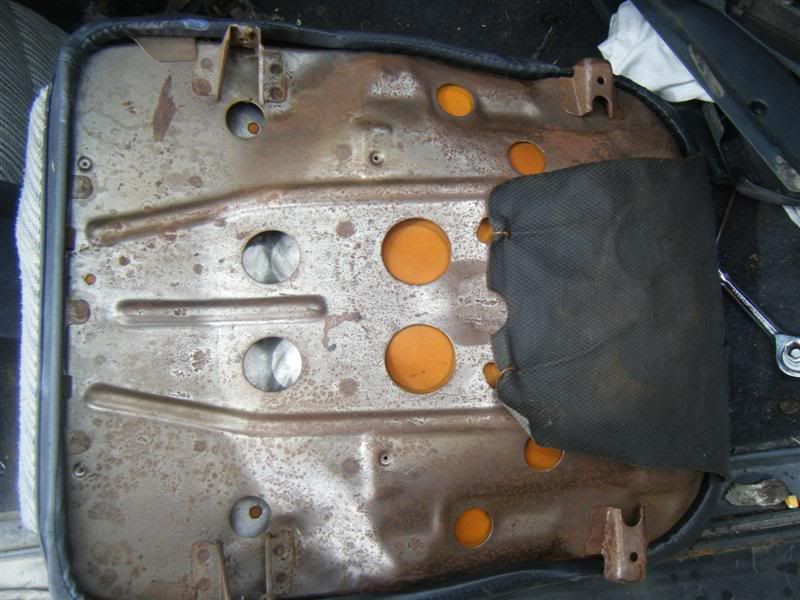
here's the bottom cushion and pan removed.
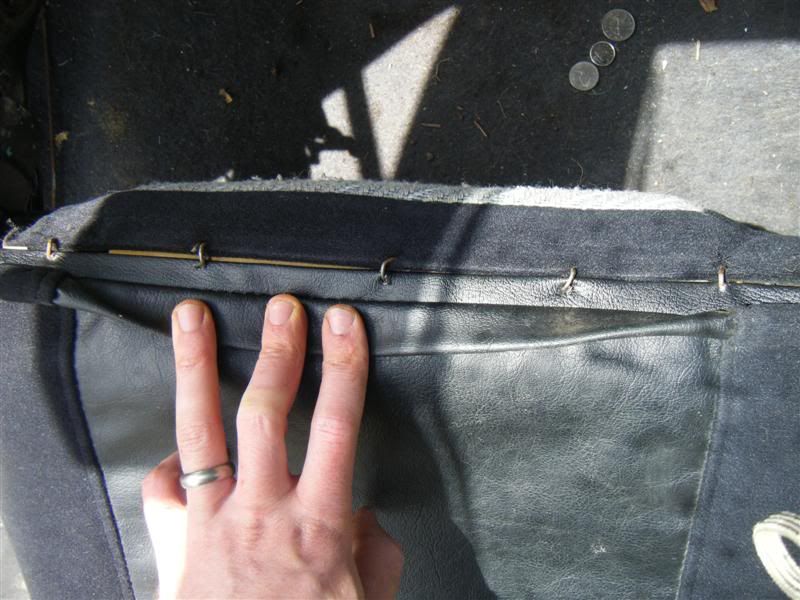
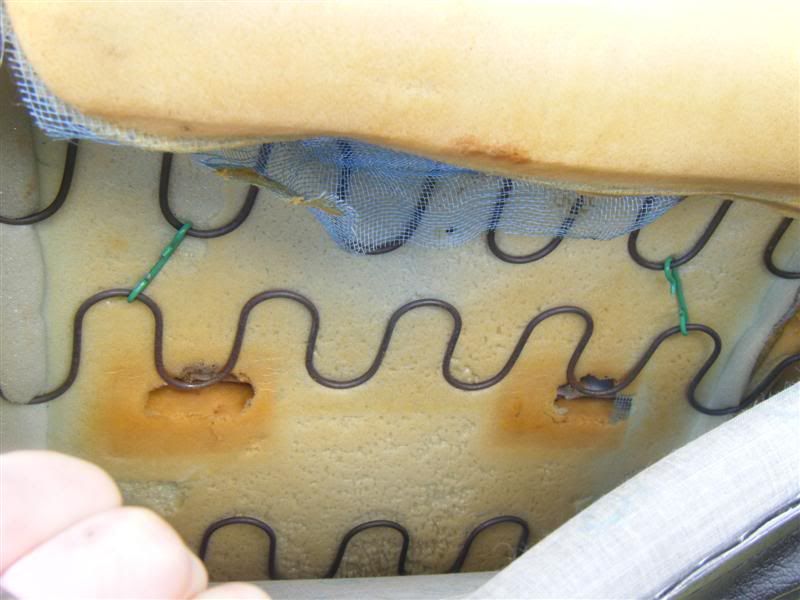
flip the pan upside down. here's your introduction to the damn rings. these are used to secure the material to the frames and pans and they're a real *%&*# to deal with. pry them off with needle nosed pliers, and keep a big container for all of them because there are a lot. remove them from the material on the bottom of the seat pan.
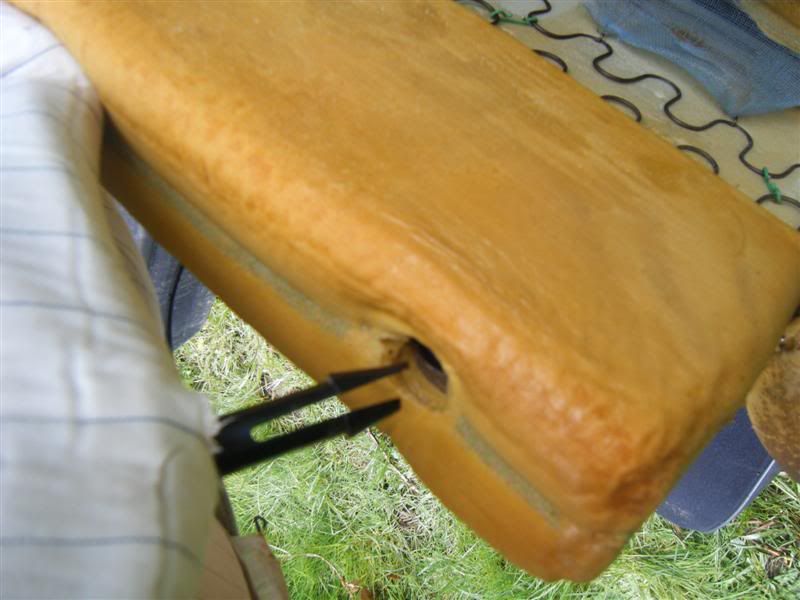
pry the edge of the seat cover off of the lip of the pan. it's pretty tight.
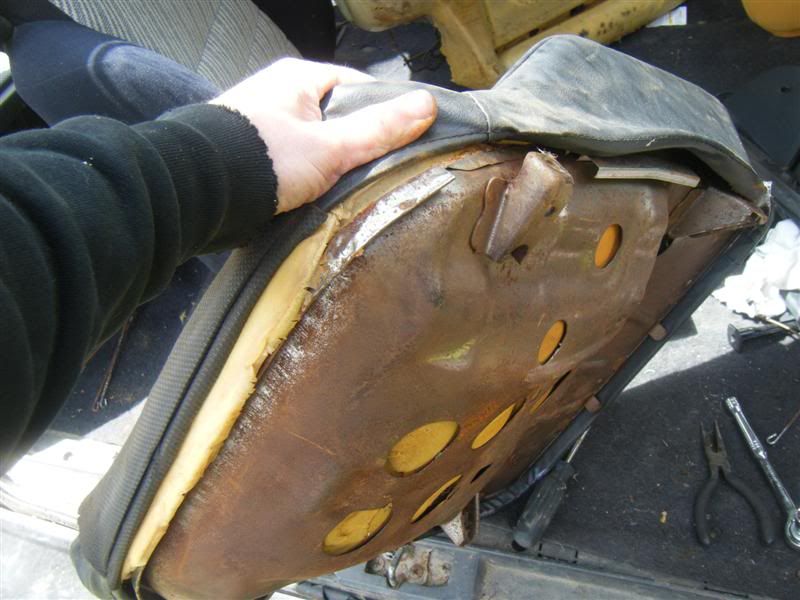
if the pan has gotten wet you'll need to pry the cushion off of the rusted pan.
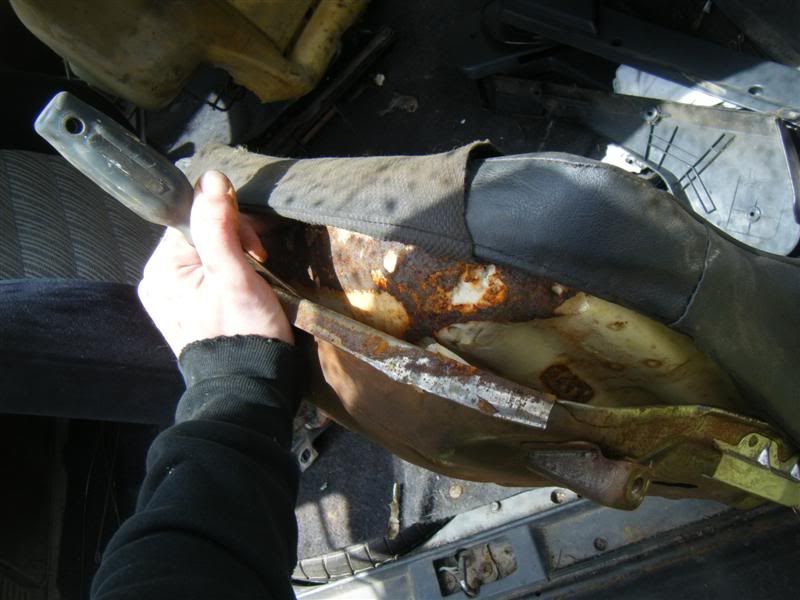
now that the cushion is free from the pan, pull the cover back and expose the rings that secure the center parts of the cover.
pull the thin metal ribs out of the sleeves. if the rib has gotten wet you'll have to mess around to separate it from the sleeve before you can slide it out.
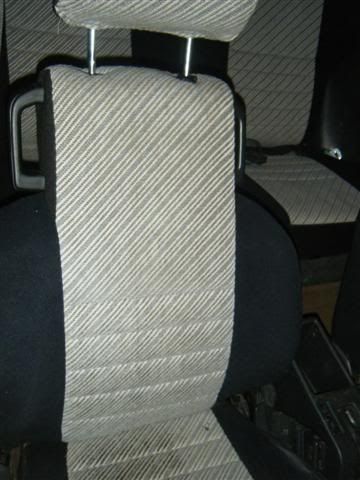
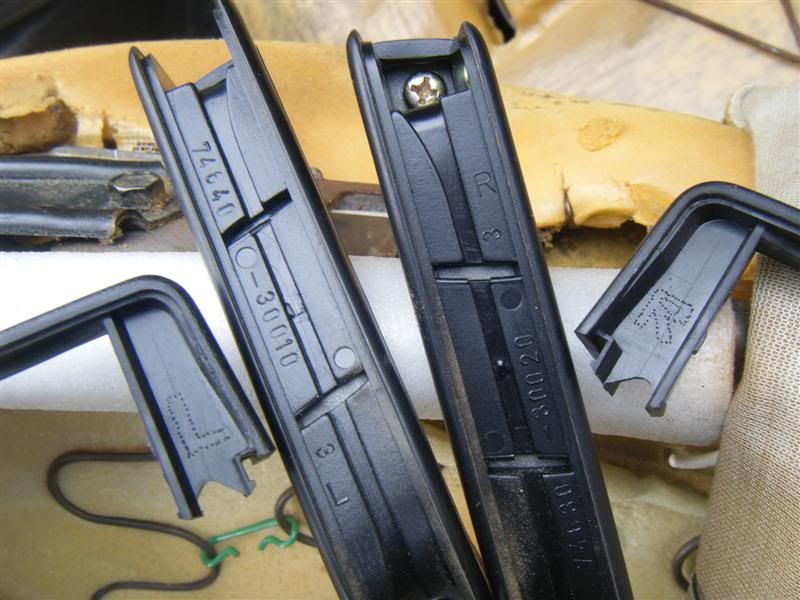
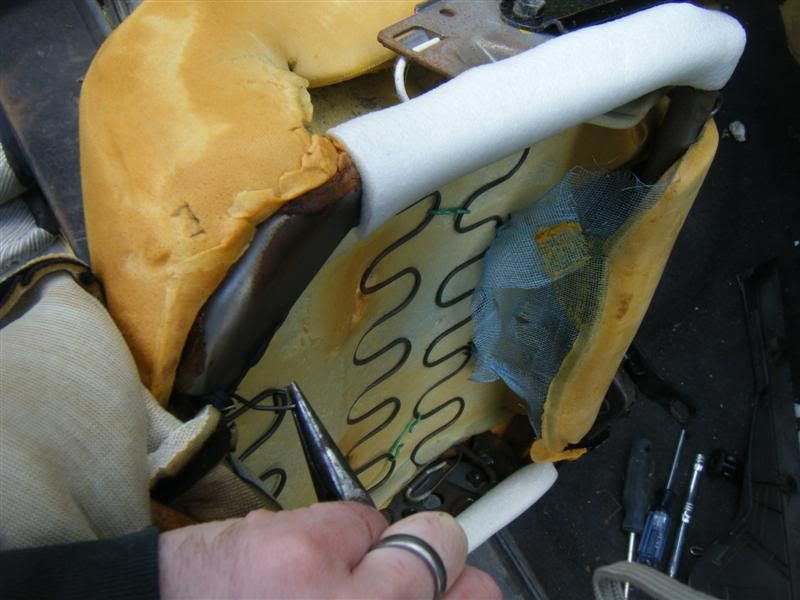
that's the front seat bottom cushion. on to the front seat back cushion. to remove the handles, pry off the cover and expose the two screws. remove the screws and pull the handles off, duh.
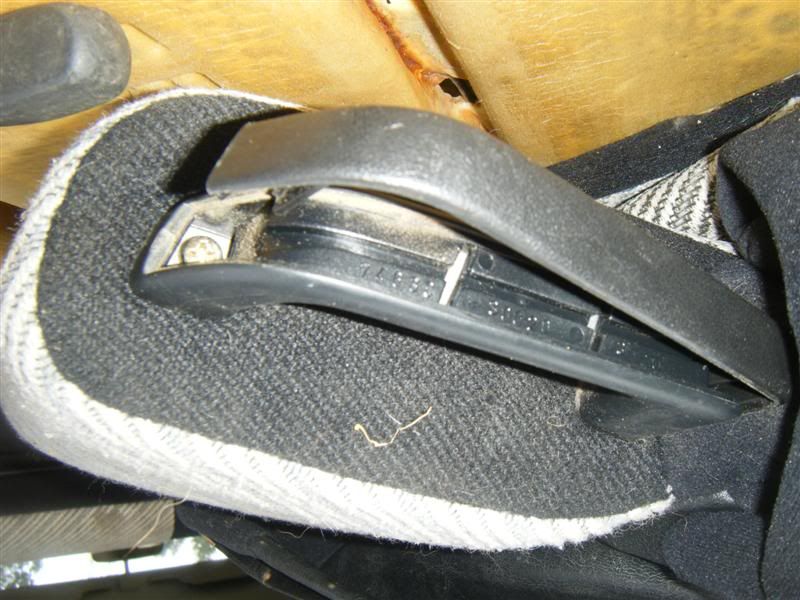
this is neat. each of the handle covers were hand-punched "L" and "R". i love knowing that someone had to take the time to do such personal work on a vehicle. weird though, since the handles themselves are machine-marked.
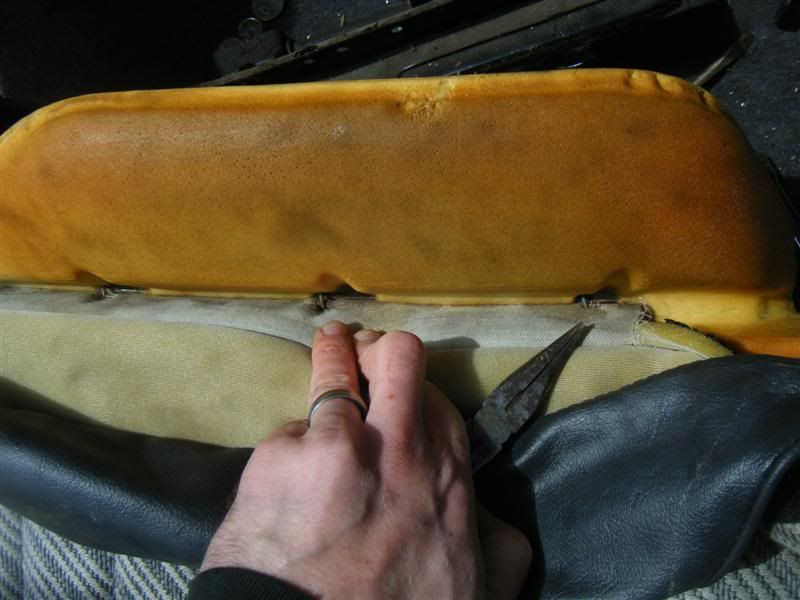
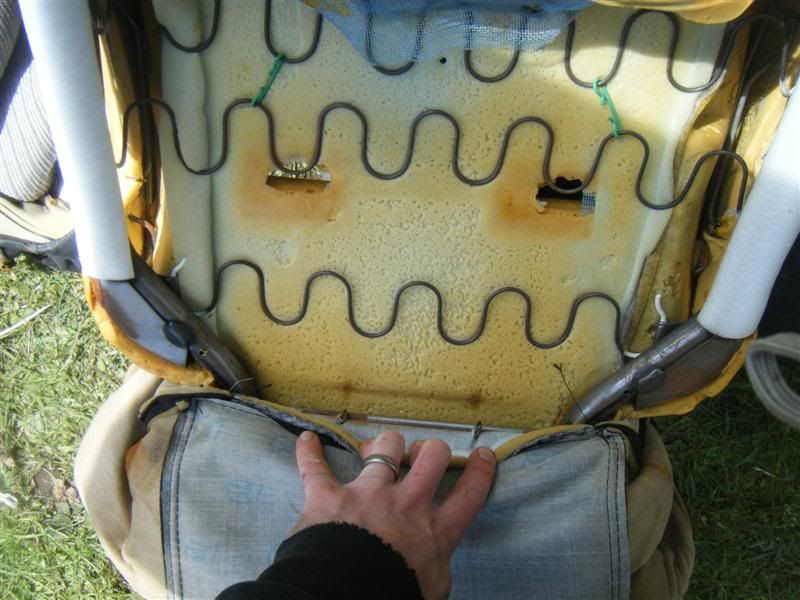
flip the seat back over so you're working on the bottom now. expose the rings, remove them.
this is a real pain: on either side there is a length of rubber wrapped around a hook and fastened with the blasted rings. wrestle with the rings, swear a bunch, remove them, untie the rubber.
pull the cover up the rear of the seat and expose more rings (they're difficult to see but they're at the orange holes in the foam, not the green things). remove them.
there are some odd hooks at the top end of the length of rubber. unhook them from the frame.
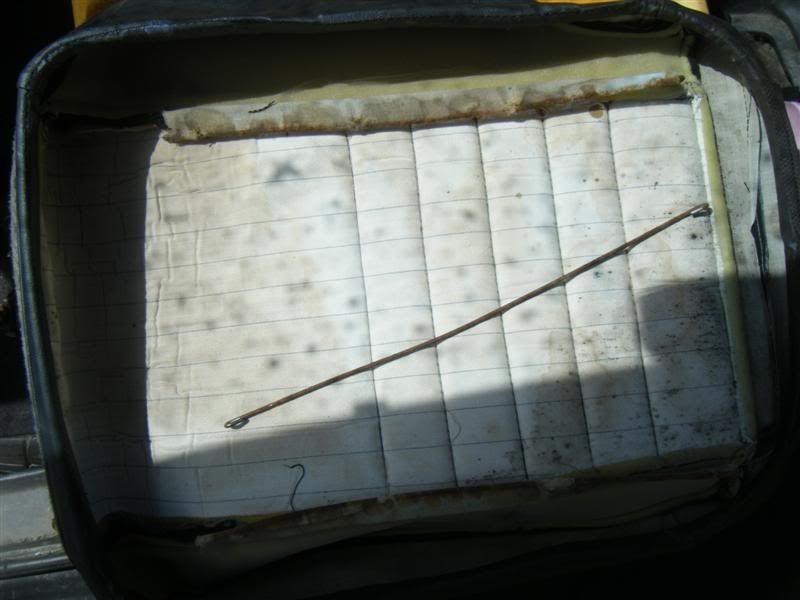
pull the cover back more. expose more rings. remove them. by now it's tedious.
now you must remove the head rest retainers. from the back of the seat back, reach up in to the space between the foam.
squeeze the ends of the retainers and push them out.
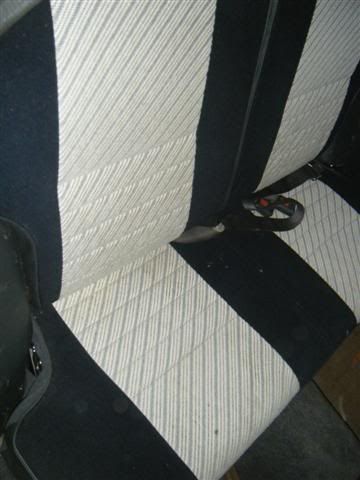
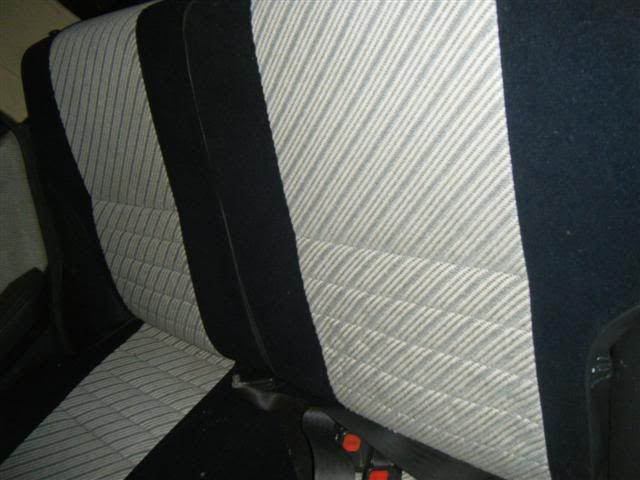
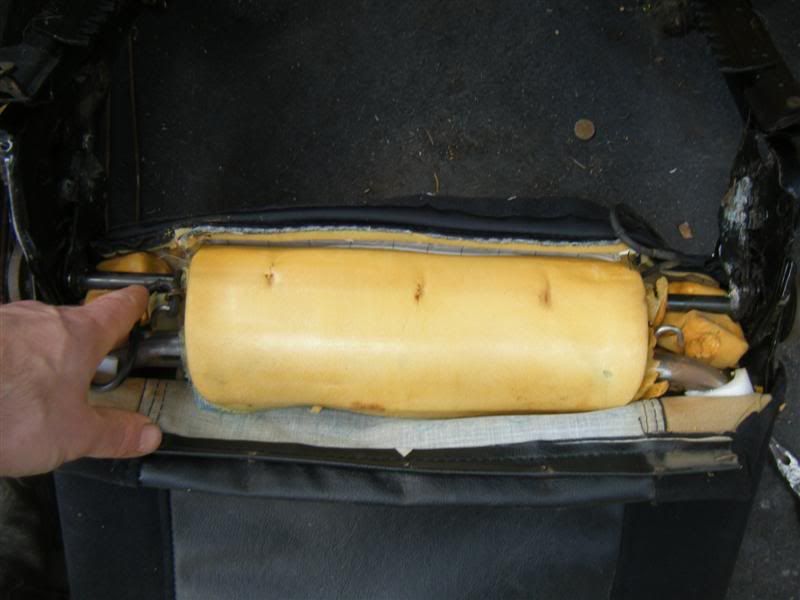
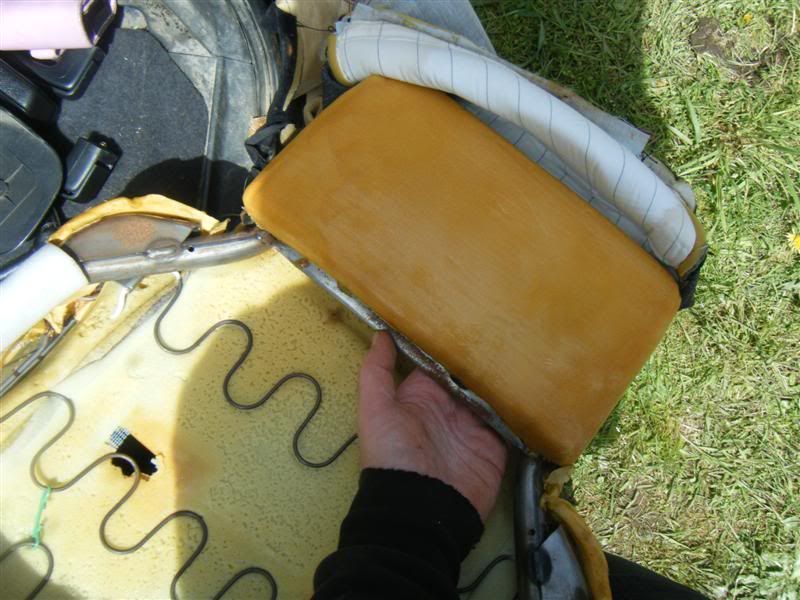
now you can freely pull of the seat back cover. pull out all the ribs from their sleeves now so that they don't get rustier when you wash the covers. one down, three to go! the driver and passenger side seats are virtually the same, minus the adjusting knob on the SR5 driver's seat. the back seats are less complicated but have more of the stupid rings. i didn't document the rear seats as thoroughly since the principles are the same--remove seat, remove rings, pull back cover, remove ribs--but here are a few things.
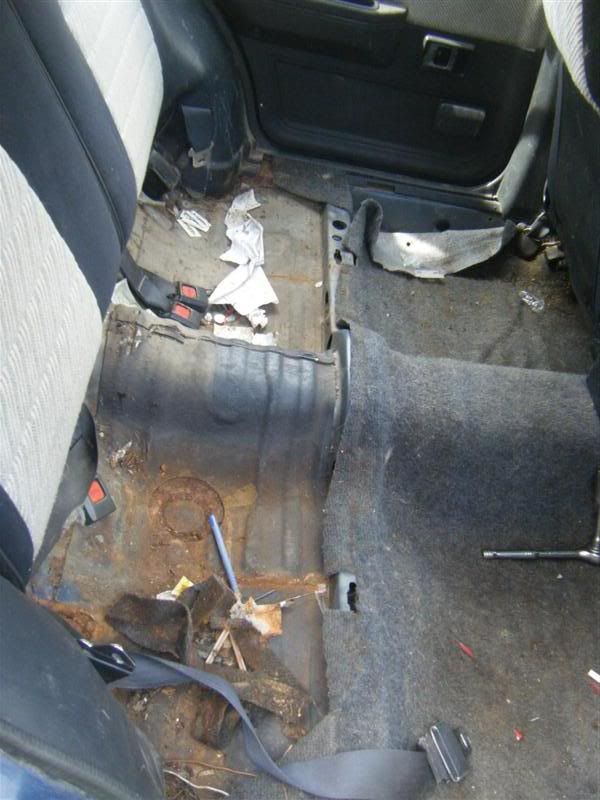
the rear bench comes out super easy, just pull the two tabs and lift. voila! look at all the crap underneath. what a mess down there.
the rear bench has so many rings and ribs that you'll hate yourself for starting this job. make sure you get them all.
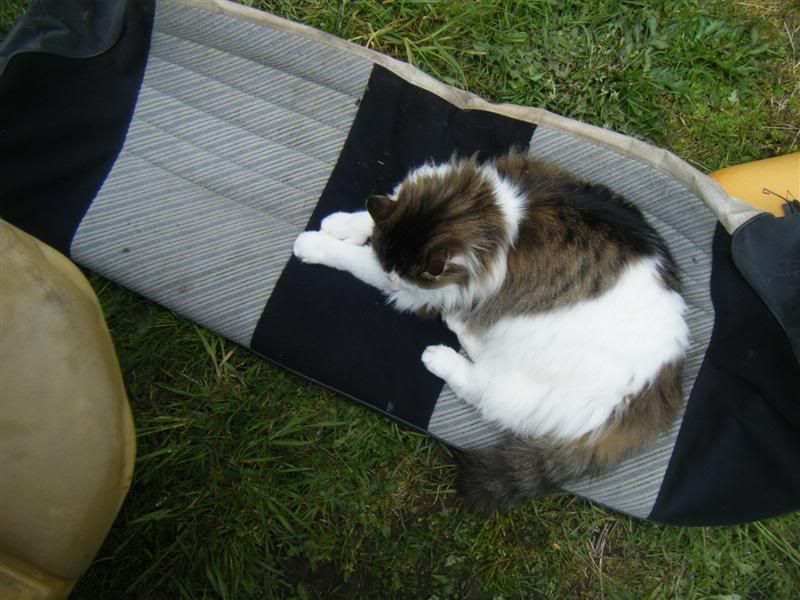
my cat loved the stink and was right in there with me the whole time.
oops, i forgot my camera died at this point. doesn't matter, here's the main points: 3 bolts attach each seat back to the frame. remove them, take out the seat backs. remove the rings, pull the cover back, expose more rings. unscrew the pull knobs that are used to lay the seats down. to remove the trim piece the pull knob sits in, undo the two bolts and remove the pull knob mechanism from the side of the seat. now you have room to reach up, squeeze, and push the trim piece out, just like the head rest retainers.
i washed all my seat covers last night. i separated them into two medium-sized loads and washed each load twice. there was a TON of muck after the first washing, and if this car wasn't quite so ugly i would even wash them a third time but screw it, this will get the smell out and this car will never look 'nice' so i'm moving on to sewing the hole in the driver's seat wing and moving on with the rest of the cleaning. your turn now!